Kitchen Layout
If you are thinking of renovating your kitchen you could read through this blog, months and even years before you are ready to renovate in fact. Your kitchen layout is the first stage of planning your kitchen renovation. I will talk about points that don’t spring to mind straight away such as:
- Existing kitchen footprints
- Do you need an Engineer?
- Where your seen end panels should finish
- Dead Corners for panels
- Dead Corners for space
I have been building kitchens for 20 years or so. Now I will talk about kitchen layouts from both the kitchen designer & cabinet maker perspective. I have seen all the design flaws now and I know what to do and defiantly what not to do. Through all the kitchens I have installed over my career I have taken on board feedback on certain designs and also have been back years later after I have installed the kitchen to see designs that have not stood the test of time. So here it is. I hope you enjoy.
My favourite phrase when it comes to Kitchen Layouts & Design is are you prepared to sacrifice design for functionality. If you have never renovated a kitchen before then I bet you are saying no way, I would never sacrifice the functionality for design. This is the biggest hurdle I cross, well from a kitchen design/layout perspective anyway. If you can ask yourself this question and answer it now honestly it will save a lot of head-scratching at the design stage. Your kitchen designer whoever you choose will have all the ideas but just remember, it is your kitchen and you have to live with it.
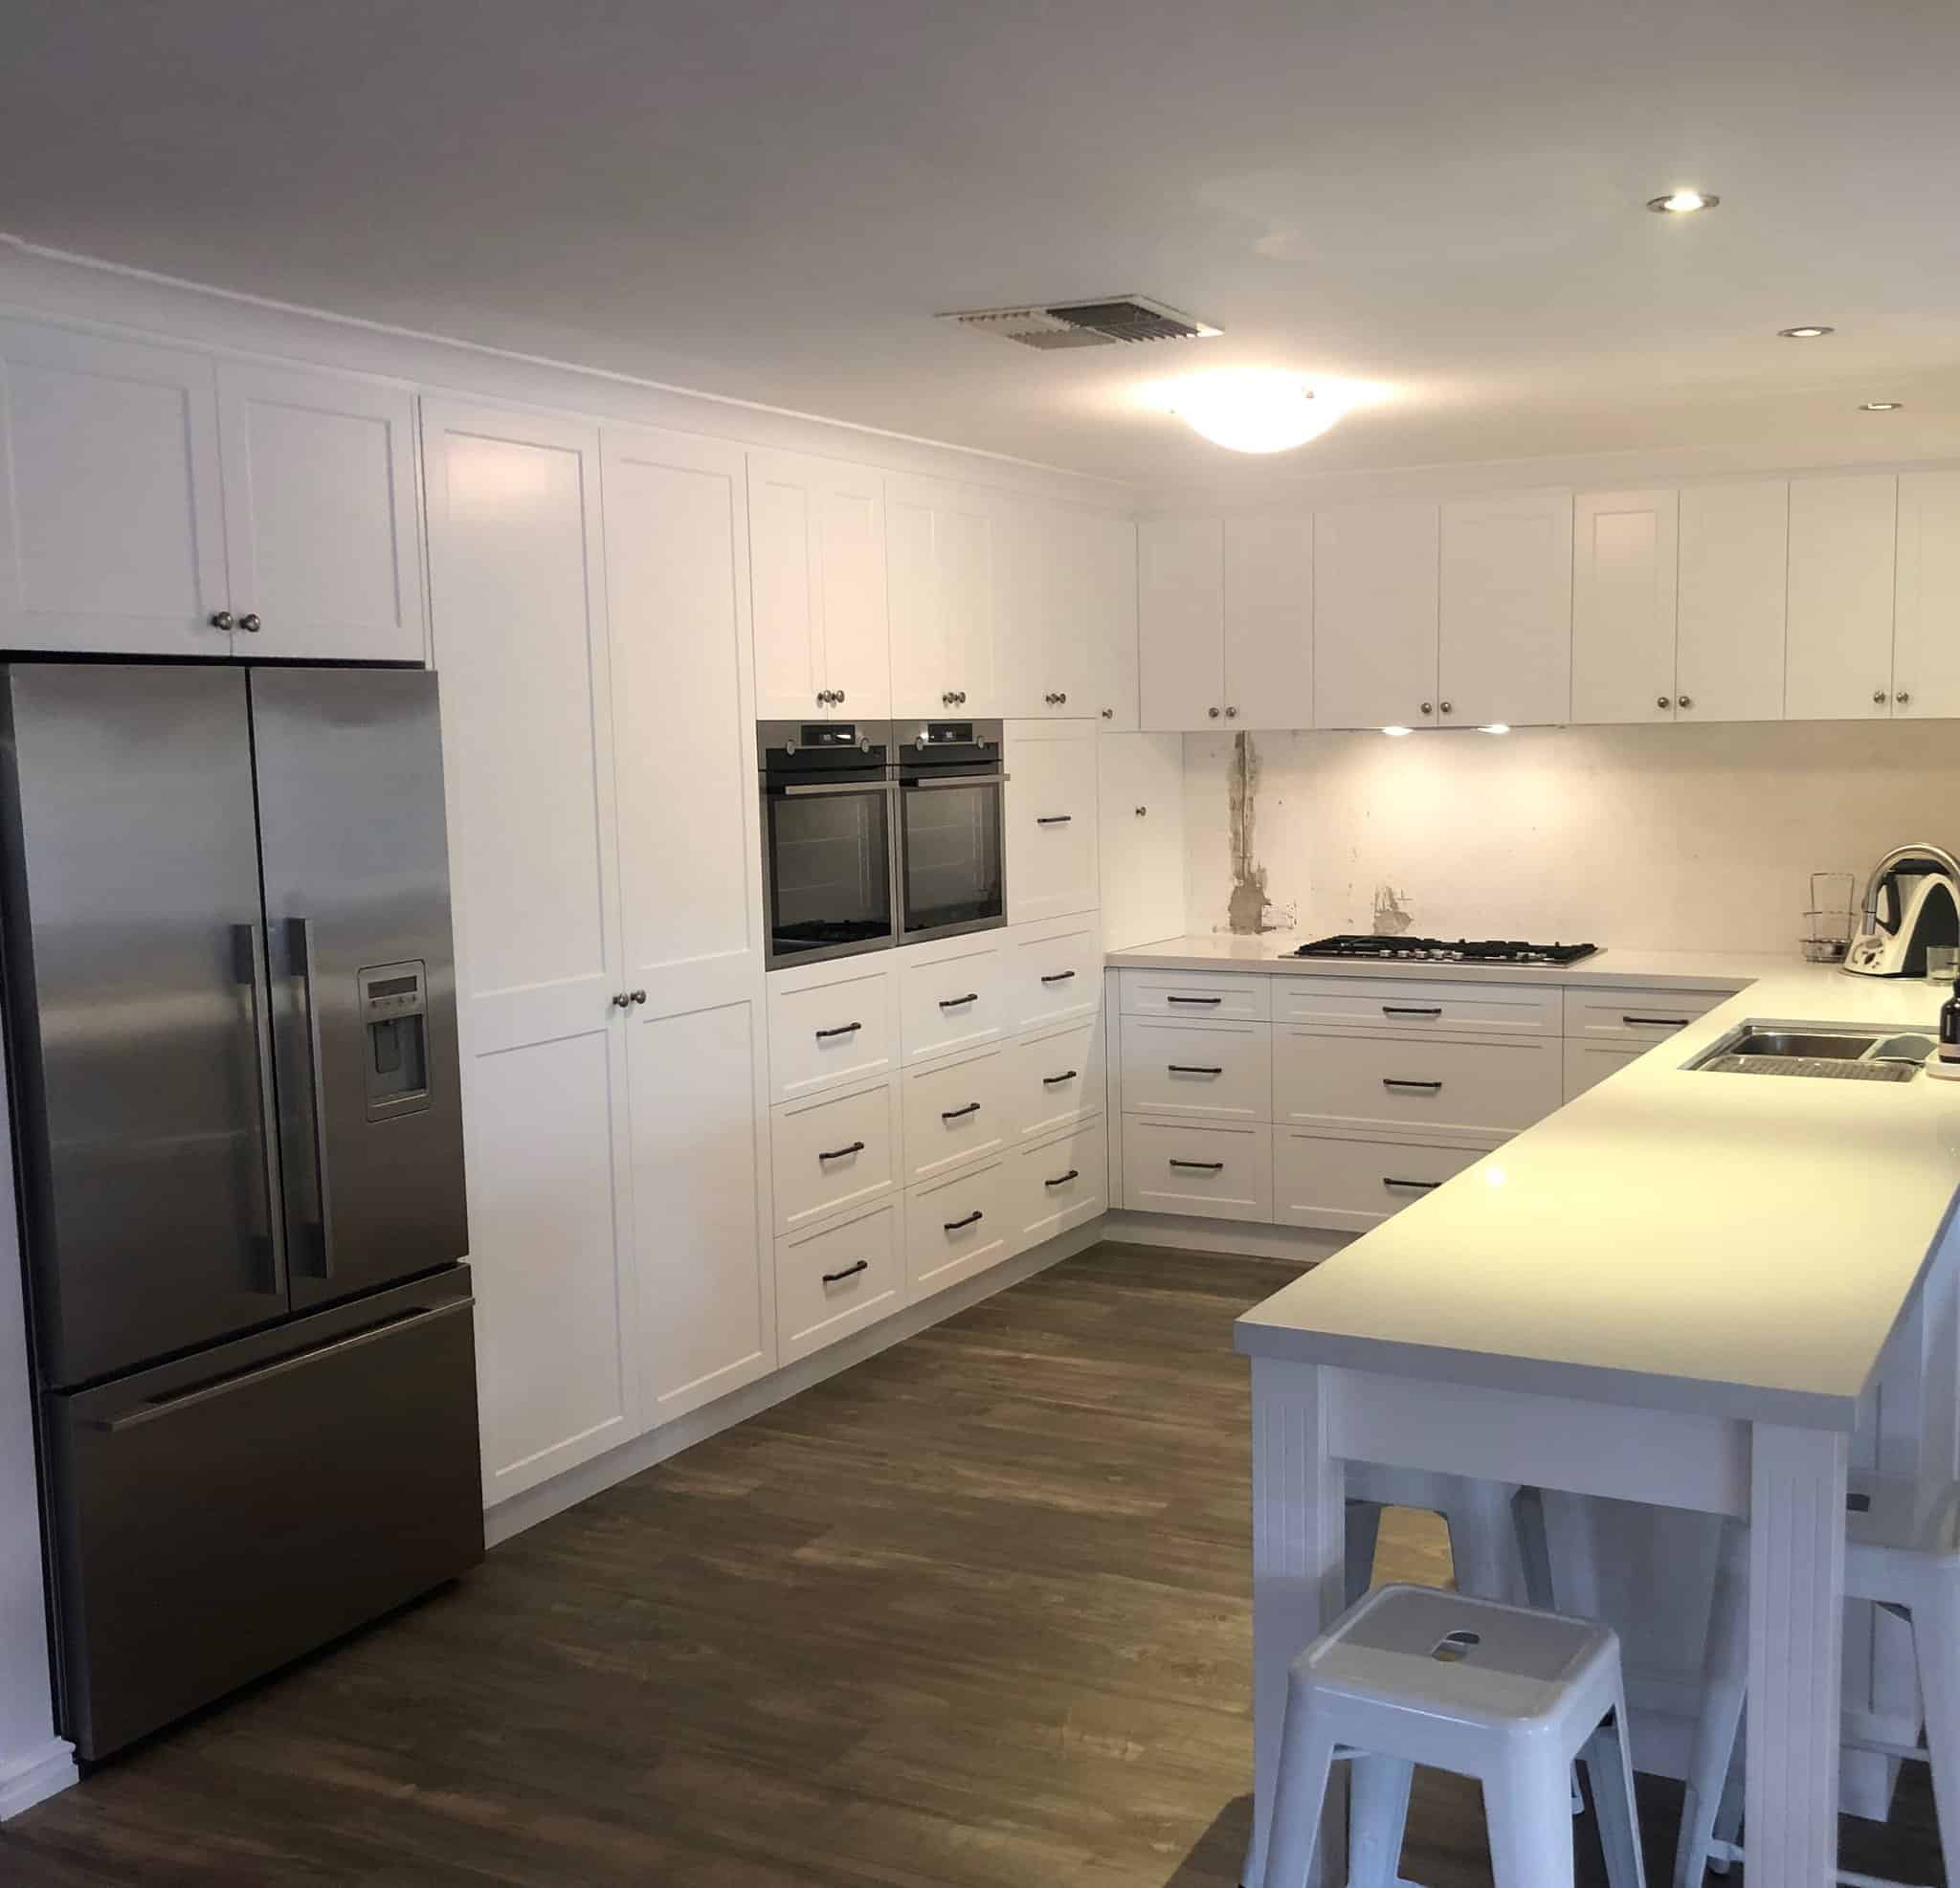
The 3 main kitchen layouts a kitchen designer will call your kitchen are:
1st A U-Shaped kitchen with or without an island bench
2nd Galley Kitchen
3rd L Shape kitchen
I think the design names speak for themselves, so I won’t bore you by going into all that.
Walls – Generally speaking, your kitchen will be determined by the walls of your home. You obviously can remove walls which we do 50% of the time when it comes to renovations over the $20,000 price range. By the way, you don’t need council approval to remove walls in your home if the quote to remove walls is under $20,000. If the renovation to remove walls is over the value of $20,000 you need to engage a qualified builder. FYI You can still get council approval and have your plans checked by an engineer for peace of mind.
Your Existing Kitchen Footprint – You also need to consider are you replacing your floor coverings or do you have the leftover floor covering from when the tiles, floorboards or vinyl was laid. OK, so what I am getting at is when you remove your existing kitchen you will leave a footprint. As a kitchen designer, we need to cover the existing kitchen floor plan with the new cabinetry otherwise you will be left with a concrete slab or whatever your house is sitting on. So, you will need to factor this in when it comes to your design.
Starting Point
The first thing you need to ask yourself is why are you renovating your kitchen? Is it:
1st Upgrading the old kitchen look for the NEW look.
2nd The Chef needs more bench space and a better place to cook
3rd Renovating to sell.
The first 2 reasons above this blog will help you as you are renovating your kitchen for yourself, not a potential buyer. I will write a blog on renovating to sell a bit later but for now I would like to concentrate on kitchens for you.
The first question was easy, now come the fun questions!
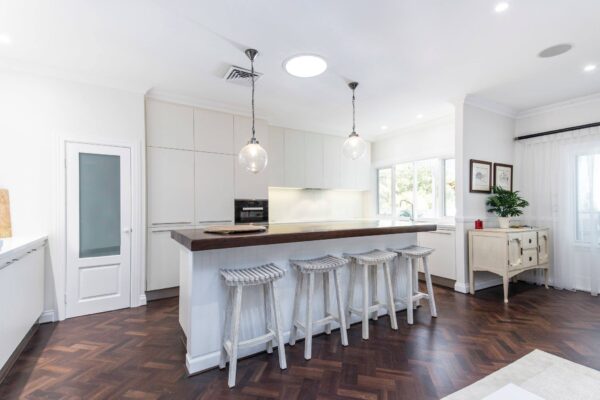
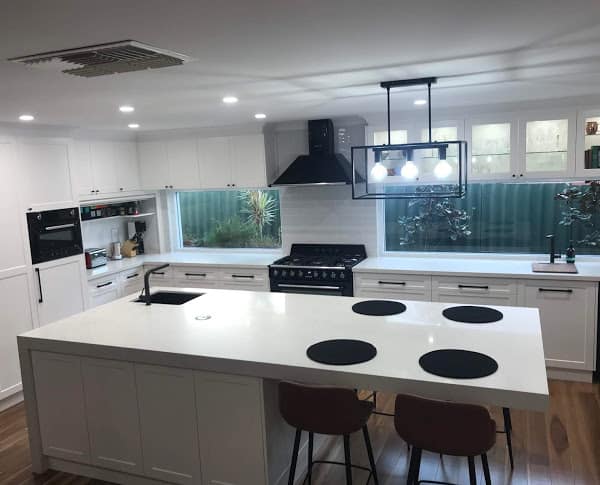
Now before all the colours, materials & appliance selections I believe a good starting point is to ask yourself are you the type of person to entertain guests around your kitchen while you are preparing meals or even having a couple of wines with your friends (rather than say in the outside alfresco, lounge or dining). The reason I ask this is if you answered yes, you are going to want a breakfast bar (island bench) so that your guests can sit around the bench top away from potential hot areas i.e. hotplates and ovens whilst you are creating the magic in the kitchen. Also, if you have a window in your kitchen, I would position the breakfast bar facing the window (if possible) so you can look out the window whilst you are eating your breakfast. Breakfast bars are great for prep areas as there will be ample bench space and you can even get your sink positioned for cleaning veggies and dishes while you are preparing your meals.
I myself like to sit around a breakfast bar with guests rather than a dining room table as there is more room to move around and you can stand or sit, whichever you prefer. Also, I like to show my skills as a cabinet maker & you the end-user can show how much better your kitchen is than all your friends.
Typical Breakfast Bar
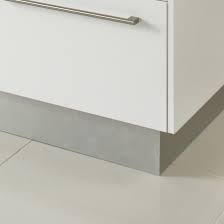
Kitchen End Panels – No cabinetry end panels should go to the floor. All your kitchen panels should finish at the same level as the bottom of your doors (in some cases this is impossible to do so). Now here is why; this creates a DEAD CORNER for when sweeping up and mopping the floors. We all know how difficult it is to get the dirt out from the corners of where the kick boards and panels meet. Also, the kick boards should be mitred then returned back to the wall and the edge sanded to take (correct terminology is arised edge) the sharp edge off.
Secondly, if your kitchen was unfortunately exposed to a dishwasher malfunction or a burst pipe and the kitchen was flooded, it is easier & cheaper to replace your kick boards rather than all your panels which are touching the floor. You could also construct your kickers out of Plywood and laminate to desired colour to prevent water damage.
| Below is a Panel going to the floor which creates a Dead Corner | Below is a Mitred Kick board, the correct way. |
 |
 |
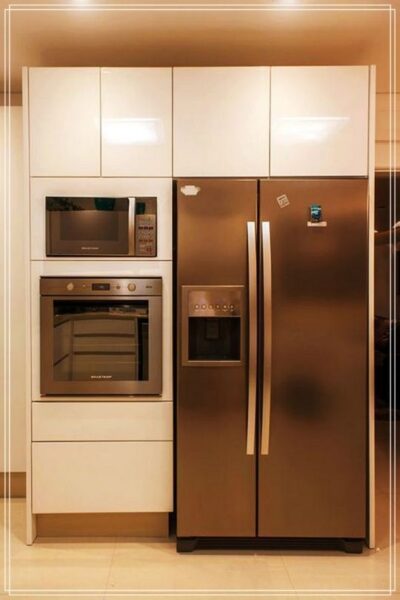
Fridge positioning – When I am designing a kitchen’s layout and I am positioning the fridge, I will always (if possible) position the fridge up against a wall or between cabinetry i.e. Pantry and Oven Tower.
If you have your fridge out to the furthest point of your kitchen you will need a panel which stretches from the ceiling to the floor to your cover the side of your fridge. Creating another dead corner. Also keep in mind the obvious way you probably go to the fridge (well I do anyway) and you would want the fridge close by.
Below is a fridge panel exposed to all the elements on the floor
Here’s a couple of points why I avoid building kitchens like the above picture;
1st The fridge panel will be positioned out by itself and has no structural integrity. The only 2 ways you can secure the panel is by gluing the fridge panel to the floor or fixing brackets to the panel and floor which look horrible. In some cases, we don’t have a choice and we always glue with no brackets.
2nd If something falls and knocks the fridge panel, or even your kids were running around the corner and they kicked the panel, the fridge panel would get smashed over and become beyond repair. Just imagine how awesome you would feel after that! If the kids kicked the kick board (which is solid) on the other hand, they would just have a sore toe.
3rd Just like I mentioned before with flooding the same applies here. Please remember your kitchen is WATER RESISTANT and NOT WATERPROOF in certain areas. Be sure to always wipe water down and don’t let water pool up on or around your kitchen.
Cabinetry space – with the way we build cabinets these days your kitchen designer will create more space even if you follow the same layout as your existing kitchen. Why do you ask? Because of our drawer systems, we maximise the space in your cabinetry by using all the dead space towards the back of the cabinet (you know the items you just can’t get to) and even up to the top of the cabinet.
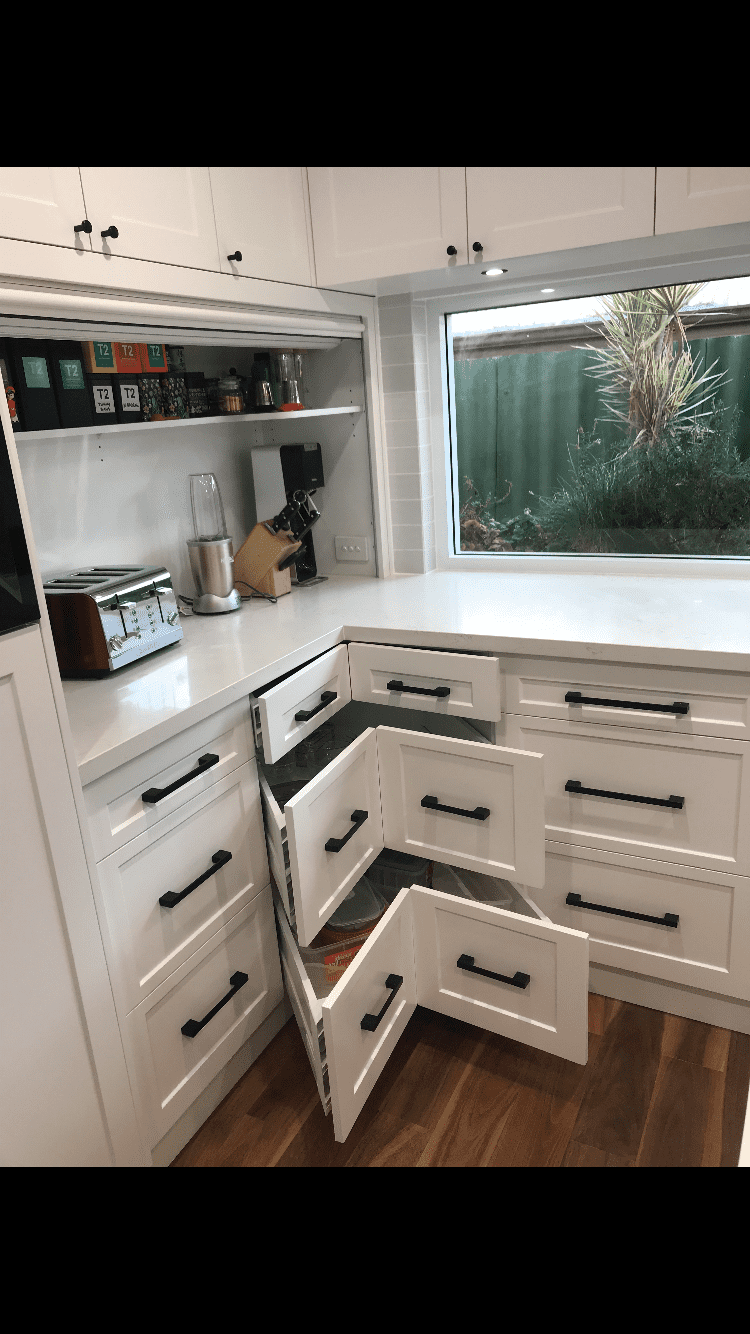
Corner cabinets have always been a pain for me as a kitchen designer and you probably know yourself the back of corner cabinet is a big waste of space but the good news is 3 years ago when I started experimenting with different options I came up with some pretty cool designs. We completed this one a few months back.
This design has a couple of features I would like to point out
- The bench top runs through to the corner for an appliance cabinet to sit on. This allows for your kettle and toaster to be stored away. It is very easy to get to the very back which maximises space.
- There are overhead cabinets above the appliance cabinet which not only maximises space but the cabinets all run in line with each other which just sets the kitchen off nicely. I think that a big straight wall of cabinetry when you walk into a room looks great.
- You can have drawers below which will block out the corner. These would have been a dead space anyway. You can use a corner caddy such as the LeMans Units from Kessebohmer which will maximise even more space. The LeMans Unit returns back into the corner as a kidney-shaped shelf.
LeMans Coner Unit
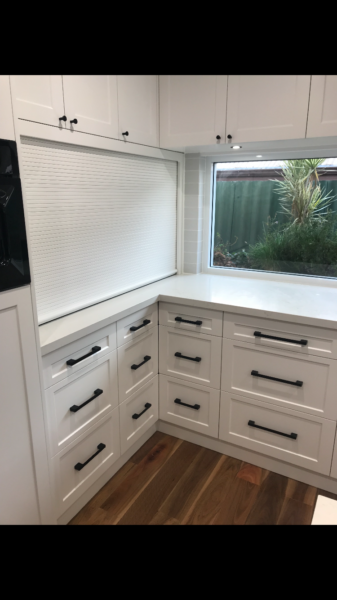
Corner drawers are probably the most effective way to maximise a corner in a kitchen. The way the drawers open and close is really nifty. Corner drawers can be a real asset to your kitchen which will be a real talking point with your guests. They are definitely on the pricey side. Corner drawers will set you back about $1,500 + for a bank of 3 drawers.
Corner Drawers
| Drawers in closed position | Drawers in open position |
 |
 |
Bench Tops
You will generally be given the option of 40 & 20mm thick bench tops. In saying that with solid surfaces such as stone and acrylic these days, we can really make any thickness possible. We have installed bench tops from 12mm all the way up to 100mm.
We have completed many designs for island/breakfast bar bench tops. I must admit I like the below most of all. We have made a metal counter lever frame for the stone to sit on. This Design would be great to act as a dining room table.
100mm apron engineered stone bench top
Waterfall ends are really popular, look great and will really compliment your island bench. The only downside is they create a dead corner for when you are sweeping up, I mentioned this earlier. The plus side is they are waterproof and won’t swell like an MDF panel.
Waterfall ends on the right
Silica
Engineered stone is the most common benchtops we use at the moment. Unfortunately, we have just discovered that engineered stone has a high amount of Silica in the material. Silica is a dust which can rest on your lungs and cause cancer. People have unfortunately died from the Silica Dust already. The product is fine to use in your kitchen. However, if you cut the product the dust is harmful to your lungs. Stonemasons are required to cut with water which stops the dust from flying around in the air.
Please feel free to get in touch with Master Class Cabinets to discuss your Kitchen Layout or anything that is on your mind regarding your kitchen renovation, Indoor or Outdoor,
The next step to your kitchen renovation is kitchen planning. This is a step by step programme where I get my client to go through to select all their colours & materials. Our next blog will be on Kitchen Planning so check back soon
Oops! We could not locate your form.




These layout point you have stated are on point. Really great ideas.